
WARNING!
*Following this tutorial will wipe all the data off your Nexus device. If you’re files aren’t automatically synced to the cloud or backed up you will not have access to them. They will be gone. Poof! Nothing left.
Though very unlikely, when you flash hardware you take a chance of permanently damaging your hardware. Certain outlets that sell Nexus devices will cover this damage. Most do NOT. If you are not comfortable with taking that chance do not do it. I refuse to take responsibility for any hardware damages that you inflict on any hardware.*
With that out of the way let’s begin with pointing out rooting the Nexus 4 is not hard. In fact most of the tools are open source and readily available.
What you need
About the Software
I hate tutorials that don’t explain what applications I’m using do. If I have a better understanding of what the applications do I’m more likely to know what to do when I hit a stumbling block.
-
ADB is a debugging application for Android. It stands for ‘Android Debugging Bridge’ and it acts as communication between your phone and your desktop. In fact ADB is almost a swiss army knife like utility. You can backup your phone, copy files, and probably a million other things I haven’t learned yet.
-
Fastboot is a protocol to flashing images (Even unsigned ones) to your device.
-
TeamWin Open Recovery is a bootloader and flash manager that supports touch screen devices. When you need to quickly install a new build of Android or replace system packages this application does it quickly and makes it easy.
-
SuperSU is a tool for managing root privileges in Android. When an application needs access to root this will pop up and ask you.
These applications are always evolving and growing. Sometimes newer tools come and might work better. I only chose these tools because they work for me.
Development Mode
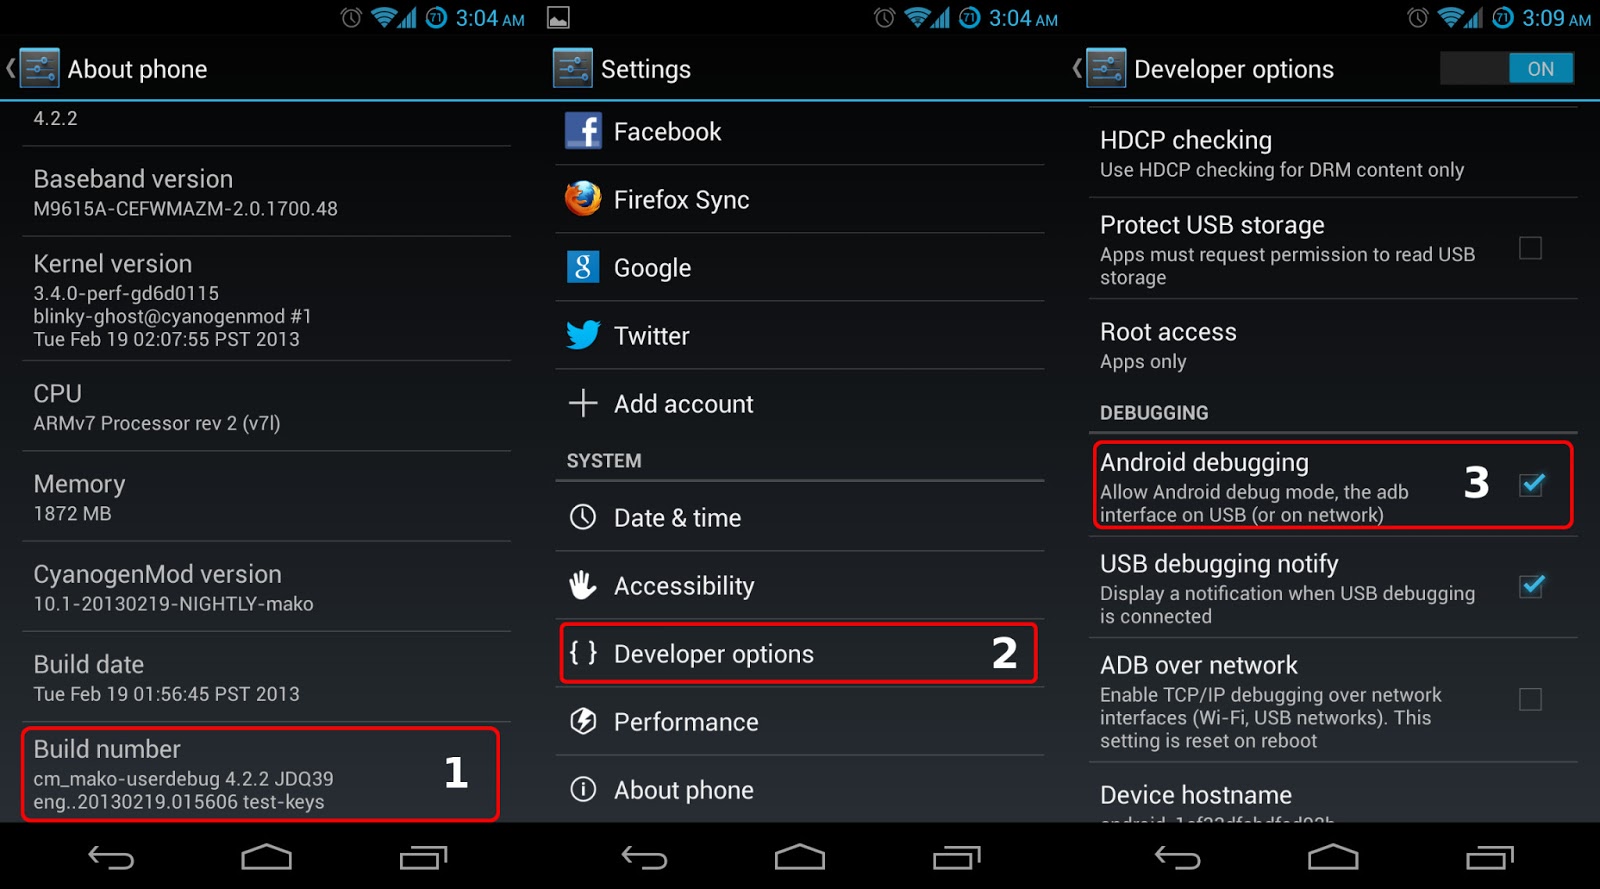
Before any of this magical hackery can commence we need to prep the Nexus. Obviously you need to turn on Android Debugging. This can be done in three streps starting in the Settings:
-
Select the “About Phone” box. Scroll down and keep pressing the “Build Number” box over and over again as quickly as you can. Eventually a pop up will tell you that you’ve unlocked it.
-
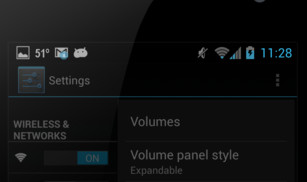
Got back to “Settings” and scroll down. You see the “Developer Options” box.
-
Look for the “Android Debugging” box and check it.
Congratulations! You’re a developer. Hold your newly transformed Nexus device. Revel in it! Once a simple consumer phone and now a full developers phone.
Let’s learn some ADB!
ADB stands for “Android Debugging.” When you first hook up your Nexus phone to your computer you’ll see a little Jellybean pop up on the statusbar of the phone. This means everything is working smashingly!
You want to open a Terminal window of choice. I’m a Gnome3 user, so I generally use Guake or Gnome-Terminal.
(Tip to keep in mind. The first time you run either of the ‘adb’ or ‘fastboot’ commands you’ll want to ‘sudo’ them. They require special privileges.)
First thing we need to do is start the adb server. We ask ADB to look for attached devices.
sudo abd devices
This will probably output something like
List of devices attached
015d2d4322640a0a           offline
And you Nexus will have this:
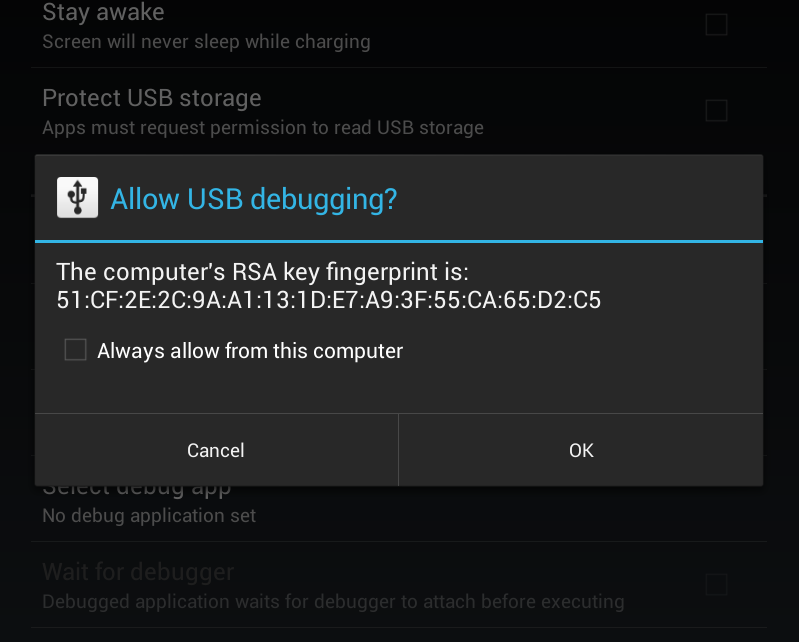
After some very talented folks pointed out there was a huge security hole in the way ADB connects we now have a simple RSA key lock. After you click okay run the
adb devices
and your out put will reflect
List of devices attached
015d2d4322640a0a           device
You are now properly connected and we can actually get to work.
Unlocking and Flashing
adb reboot bootloader
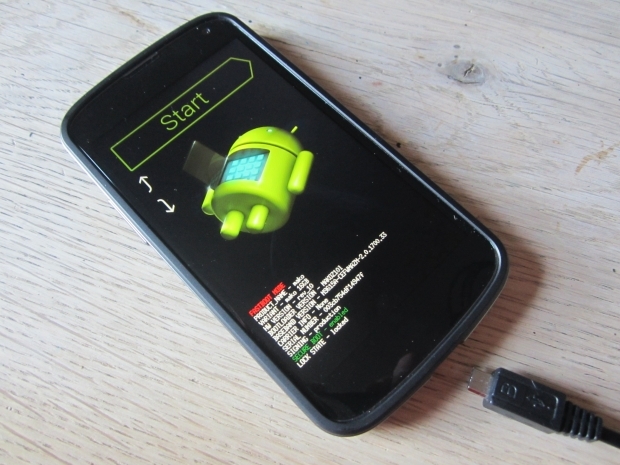
Unlike in this picture don’t disconnect the USB!
This will reboot your Nexus into the default recovery. This recovery is very basic. Now to unlock the boot loader.
sudo fastboot oem unlock
(Notice the use of the ‘sudo’ command? That’s right, this was the first time re ran it.)
Now we use ADB to reboot the phone but back into the default recovery.
adb reboot bootloader
Now we have the boot loader unlocked we are going to flash the TeamWin Open Recovery.
sudo fastboot flash recovery openrecovery-twrp-X.X.X.X-mako.img
You can now reboot your phone normally. You will be prompted to do your setup again. Log in with your Google name and password.
You will have to re-enable ‘Development Mode’ on your phone again.
Now to save time install the ZXing barcode scanner (also in the Play Store) and scan this url:

http://download.chainfire.eu/311/SuperSU/UPDATE-SuperSU-v1.05.zip
This will lead you to the download for SuperSU. Install it and power off the Nexus.
Using Open Recovery
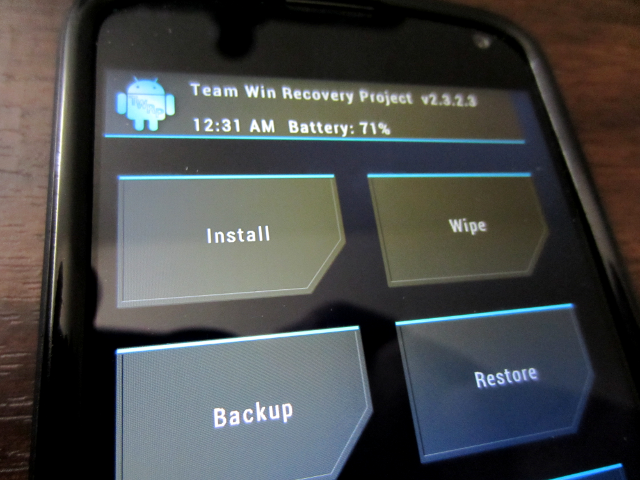
When you boot back up hold the power and volume down. You’ll see the TeamWin logo pop up and will be presented with the main menu.
Select install and find your UPDATE-SuperSU-v1.05.zip file. You can flash it just by sliding the ‘install’ slider at the bottom. Reboot and you now have root on your Nexus. It’s just that simple. (Or maybe not…)
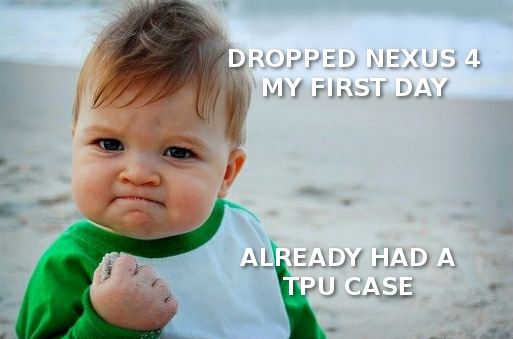
Safety first!
When I first ordered the Nexus 4 I was so worried about breaking that glass back I also ordered the Diztronic TPU case. Perhaps I’m overly paranoid but that case has kept it safe since day one. I mean that. I dropped it the first day I had it.
I hope this guide has helped you. I want to thank the XDA Community for helping me understand the power of ADB and Fastboot.
Resources
Original tutorial from culaterout via XDA Developers. RSA Image from Android Police. Photo of the Nexus default recovery from ToTheMobile.com.